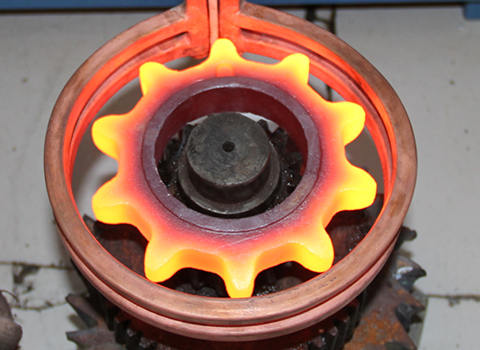
Micrometer is a very important precision measuring tool in production practice. It has many specifications and is used to detect the diameter of the outer circle and the length of the workpiece. It is widely used in mechanical processing. The fixed end face and the end face of the micrometer screw are in contact with the clamped workpiece during the measurement process, so both end faces are subject to wear, and their life depends on the accuracy of the micrometer screw. In order to improve the service life of the micrometer, we often use high-frequency induction heating machines for heat treatment, and the effect is very good.
(1) Heat treatment of various parts of micrometer
①Micrometer screw
The technical requirements are that the overall hardness is 58-62HRC, and the radial runout or curvature is not greater than 0.15mm. The martensite level is not greater than level 2. During heat treatment, the workpiece is heated by lifting or inserting the plate. The quenching process specifications are: using a high-frequency induction heating machine to perform quenching heat treatment at 850-860°C, and then cooling with water.
②The technical requirements for the calibration measuring column (positioning rod) are hardness 62-65HRC, radial runout less than 0.20mm, and martensite level less than 2.
Heat treatment heating requires the use of special fixtures for vertical heating and cooling. The tempering temperature is 130-150°C, and the intermediate annealing part is partially heated to 700-800°C and air-cooled. The rest is the same as the heat treatment process of the micrometer screw.
③The material of the micrometer cylinder (or scale sleeve) is 45 steel, the technical requirements are 170-207HBS, the heating temperature is 860-880°C, and a high-frequency induction heating machine is used.
This article briefly introduces the high-frequency heat treatment process of micrometers. When we perform heat treatment according to the above process, we must be serious and careful to avoid defects that affect its service life.


 en
en  cn
cn  jp
jp  ko
ko  de
de  es
es  it
it  ru
ru  pt
pt  vi
vi  th
th  pl
pl 


 GS-ZP-1200


